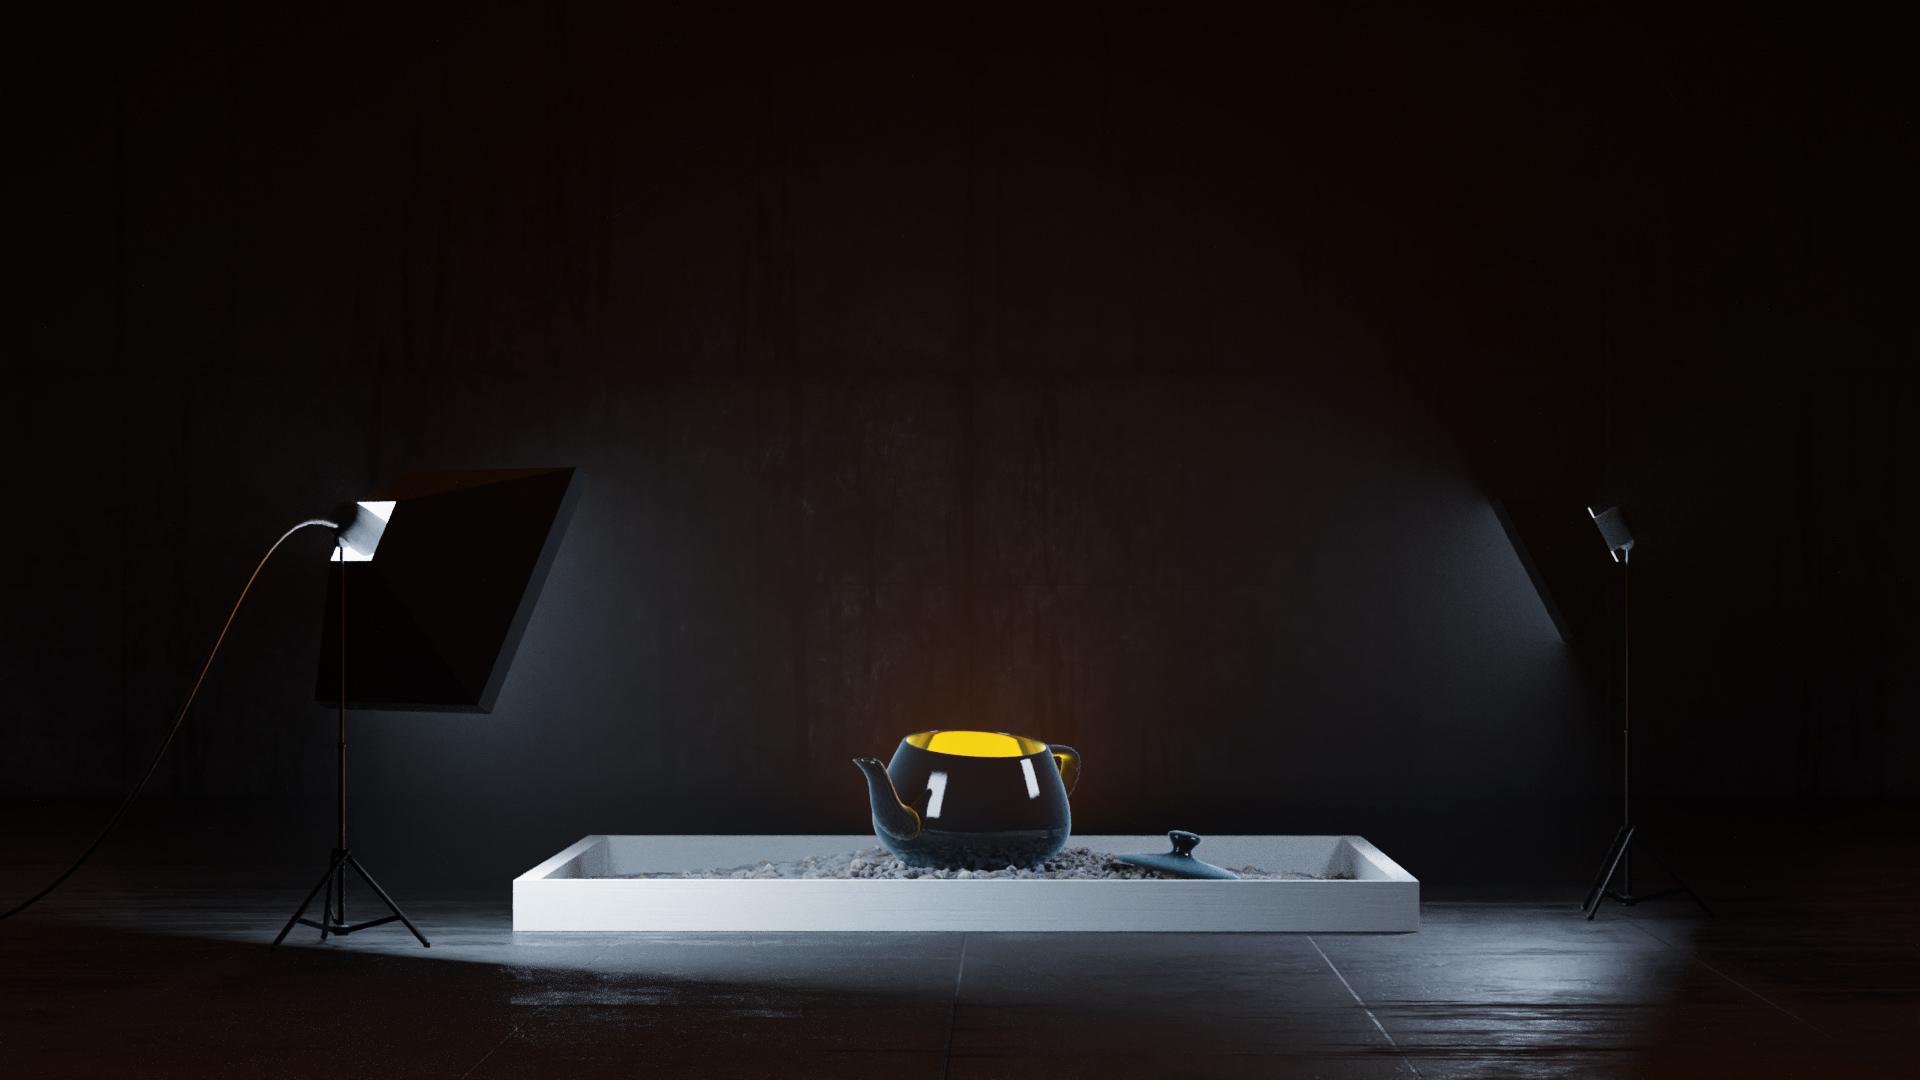
In this exercise, you will use a PBR workflow to add realistic textures, set up lights, and configure render settings.
Learning Resources
Level 1 & 2: Beginner and Intermediate Students
Physically based materials:
- Blender: Principled shader documentation
- Secrets to photorealism
- Ways to Speed Up Blender Cycles Rendering
- Removing render “fireflies”
Example texture packs:
Blender:
- Blender Foundation - Videos 21-27: Blender Fundamentals 2.8
- Grant Abbitt - Part 6 Rendering and Atmosphere
- Blender Reference Sheet: Blender Hotkeys
- Lynda - Watch Chapters 4 and 7: Blender Essentials
- Setting up the redner camera in Blender
- PBR Materials Demo By Joe Foresman
Level 3: Experienced Students
- Flipped Normals - Introduction to Sculpting in Blender 2.8 - Sculpting Essentials
- Blender 2.8 - How to bake textures - Tutorial
- Retopology for Beginners in Blender 2.8 - Retopo the Correct Way
- How To Setup PBR and Displacement in EEVEE AND Cycles Blender 2.8
Steps to Completion
Choose a either level 1, level 2, or level 3 to complete based on your prior experience with 3D tools. If you are a novice, choose Level 1. If you have some experience, choose Level 2. If you are very experienced with 3D tools, choose Level 3.
| Level 1 and 2 Steps | Level 2 Steps | Level 3 Steps |
Level 1:
- Create a polygonal model of an scultpure that features some illuminated elements set in a room. Focus on using Principled BSDF shaders.
- The object should have a bulb with an emission (emissive) material and act as a light source
- You can download and use texture packs.
- There should be a background environment HDR image.
- There should be a floor and one more walls of a room visible in the render, use any material you’d like for these. The sculpture should not be “floating in space.”
- Unwrap the UVs for each object if you intend to use textures. Ensure that your materials are mapping with your object’s UVs.
- Select render camera. In camera settings, adjust the camera’s framing and focal length to create a good composition. Explore the camera presets. See video tutorial linked in resources.
- Check the “Lock camera to view” to frame composition with render camera.
- In Blender, render and image using Cycles renderer with the following settings:
- Image size: X=1920px, Y=1080px
- In the render window, Image –> Save As advanced-texturing-YOURNAME.png in the project folder.
- Save the blend file as advanced-texturing-YOURNAME.blend in the project folder.
- Compress the project folder once you’ve completed the tutorial and rename it advanced-texturing-YOURNAME.zip.
- Upload the .zip file to the assignment dropbox.
- Ensure you’ve included everything properly. Failure to ensure that you’ve uploaded the file will result in your exercise being graded according the grading criteria.
Level 2:
- Create an abstract self portrait using Principled BSDF shaders. See Adobe Creative Types for inspiration.
- The object should have a studio lighting setup for even lighting.
- There should be a solid color in the background.
- You can download and use texture packs.
- Unwrap the UVs for each object if you intend to use textures. Ensure that your materials are mapping with your object’s UVs.
- Select render camera. In camera settings, adjust the camera’s framing and focal length to create a good composition. Explore the camera presets. See video tutorial linked in resources.
- Check the “Lock camera to view” to frame composition with render camera.
- In Blender, render and image using Cycles renderer with the following settings:
- Image size: X=1920px, Y=1080px
- In the render window, Image –> Save As advanced-texturing-YOURNAME_L2.png in the project folder.
- Save the blend file as advanced-texturing-YOURNAME.blend in the project folder.
- Compress the project folder once you’ve completed the tutorial and rename it advanced-texturing-YOURNAME.zip.
- Upload the .zip file to the assignment dropbox.
- Ensure you’ve included everything properly. Failure to ensure that you’ve uploaded the file will result in your exercise being graded according the grading criteria.
Level 3:
- Continue your work from the previous exercises.
- Your model should be a low to medium resolution mesh with a detailed normal map applied. There should also be a finished diffuse texture map.
- Add an emissive texture to create glowing spots on the creature.
- Save your emissive map in the project folder as emissive-advanced-texturing-YOURNAME.png.
- Use an HDR environment map and PBR workflow to light and render your creature.
- Save the render as render-advanced-texturing-YOURNAME.png..
- Save your file as advanced-texturing-YOURNAME-L3.blend
- Compress the project folder once you’ve completed the tutorial and rename it advanced-texturing-YOURNAME-L3.zip.
- Upload the .zip file to the assignment dropbox.
- Ensure you’ve included everything properly. Failure to ensure that you’ve uploaded the file will result in your exercise being graded according the grading criteria.
Example Level 3 folder structure
advanced-texturing-YOURNAME-L3.zip
|
├── advanced-texturing-YOURNAME-L3
├── normal-advanced-texturing-YOURNAME.png
├── diffuse-advanced-texturing-YOURNAME.png
├── emissive-advanced-texturing-YOURNAME.png
├── advanced-texturing-YOURNAME.png (you may include additional texture maps as needed)
├── render-advanced-texturing-YOURNAME.png
└── advanced-texturing-YOURNAME.blend