In this exercise, you will gain basic understanding of modeling fundamentals. There are different tutorials and exercise submission requirements for three experience levels. Choose the experience level that matches your own.
Learning Resources
Level 1: Novice Students
- Blender Reference Sheet: Blender Hotkeys
- Youtube - Modeling advice: Good Edge Flow
- Lynda - Watch up to Chapter 3: Blender Essentials
- Lynda - Watch Chapter 3 - Creating furniture videos 1 and 2: Modeling the Eames Chair
- Modeling reference: Speed modeling a chair
Level 2: Intermediate Students
- Lynda - Watch up to Chapter 6: Maya Essentials
- Lynda.com - Advanced Modeling
Level 3: Experienced Students
Reference Websites
Steps to Completion
Choose a either level 1, level 2, or level 3 to complete based on your prior experience with 3D tools. If you are a novice, choose Level 1. If you have some experience, choose Level 2. If you are very experienced with 3D tools, choose Level 3.
| Level 1 Steps | Level 2 Steps | Level 3 Steps |
Level 1:
- Watch tutorials from Lynda on introduction to modeling.
- Create a project folder. Save all files to this folder.
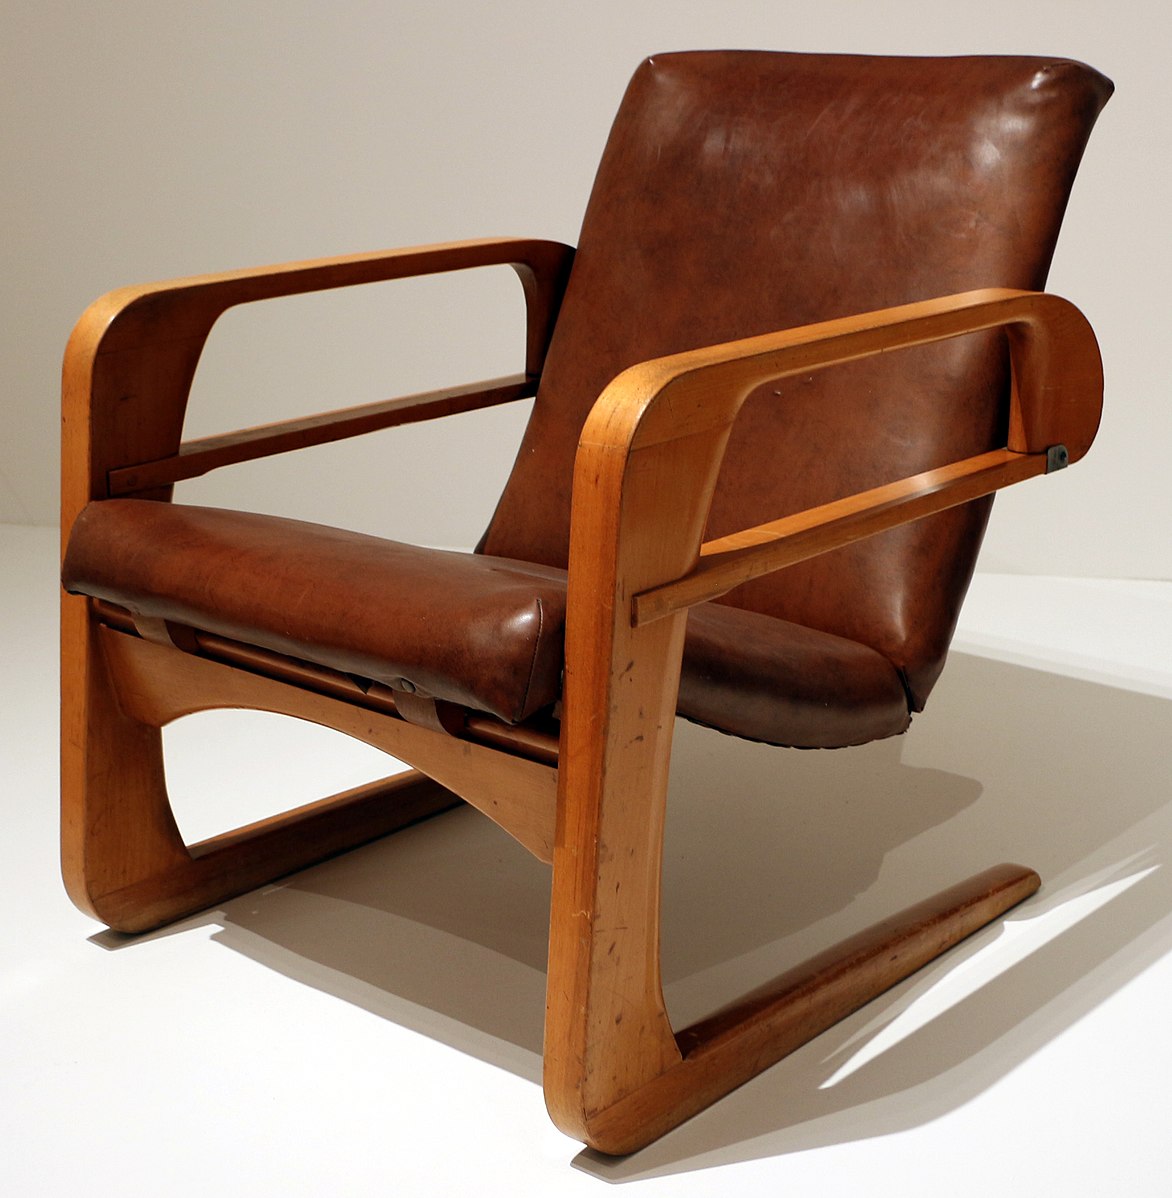
- Model the Kem Weber Airline Chair with your newly learned modeling skills with polygons. (Be careful not to accidentally create nurbs primitives when modeling)
- Skills to practice include:
- ploygonal edge flow
- extruding polygon faces
- inserting edge loops
- moveing, rotating, and scaling vertecies, edges, and faces
- mirroring and duplicating geometry
- Clean up your edge flow.
- Save the 3D scene file as modeling-YOURNAME in the project folder.
- Compress the project folder once you’ve completed the tutorial and rename it modeling-YOURNAME-L1.zip.
- Upload the .zip file to the assignment dropbox.
- Ensure you’ve included everything properly. Failure to ensure that you’ve uploaded the file will result in your exercise being graded according the grading criteria.
Level 2:
- Watch Lynda tutorials for advanced modeling.
- Create a project folder. Save all assets to the project folder.
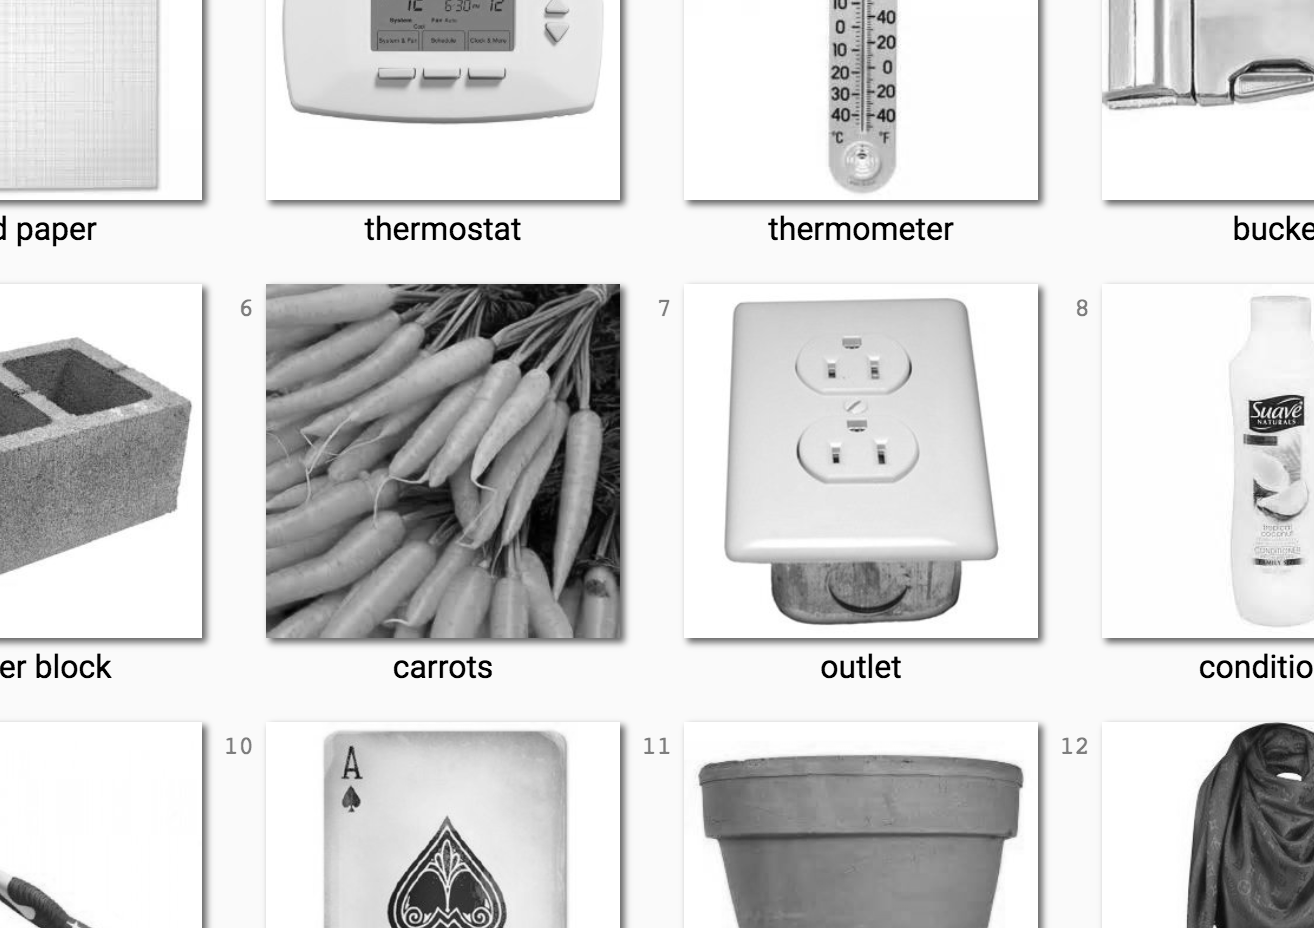
- Obtain three randomly generated objects from this website. Include a screenshot of the website objects in your project folder called objects-modeling-YOURNAME.jpg (or .png)
- Create a new file for each object and save in the project folder.
Naming:
obj1-modeling-YOURNAME
obj2-modeling-YOURNAME
obj3-modeling-YOURNAME - Create one polygonal model for each scene file from your set of randomly generated objects in Step 2. (You should be making three objects since you’ve created three scenes.)
- Capture the gesture of the objects with as little detail as needed to describe the shape.
- Do not “smooth” the objects.
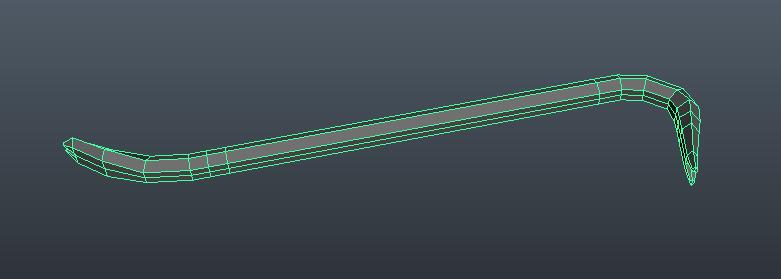
- Focus on maintaining quads and good edgeflow.
See example image of a crowbar below:
- Compress the project folder once you’ve completed the tutorial and rename it modeling-YOURNAME-L2.zip.
- Upload the .zip file to the assignment dropbox.
- Ensure you’ve included everything properly. Failure to ensure that you’ve uploaded the file will result in your exercise being graded according the grading criteria.
Level 3:
- Watch the tutorials related to sculpting.
- Use the techniques learned to create a detailed sculpt of a real-life aquatic creature.
- Your sculpted model should be of similar refinement to the example model at the end of lesson 4.
- Save your blend file in a project folder modeling-YOURNAME.blend.
- Compress the folder once you’ve completed the tutorial and rename it modeling-YOURNAME-L3.zip.
- Upload the .zip file to the assignment dropbox.
- Ensure you’ve included everything properly. Failure to ensure that you’ve uploaded the file will result in your exercise being graded according the grading criteria.