In this exercise, you will practice creating a rig for a polygon mesh. You will create a simple biped rig starting with the base mesh FBX file.
Learning Resources:
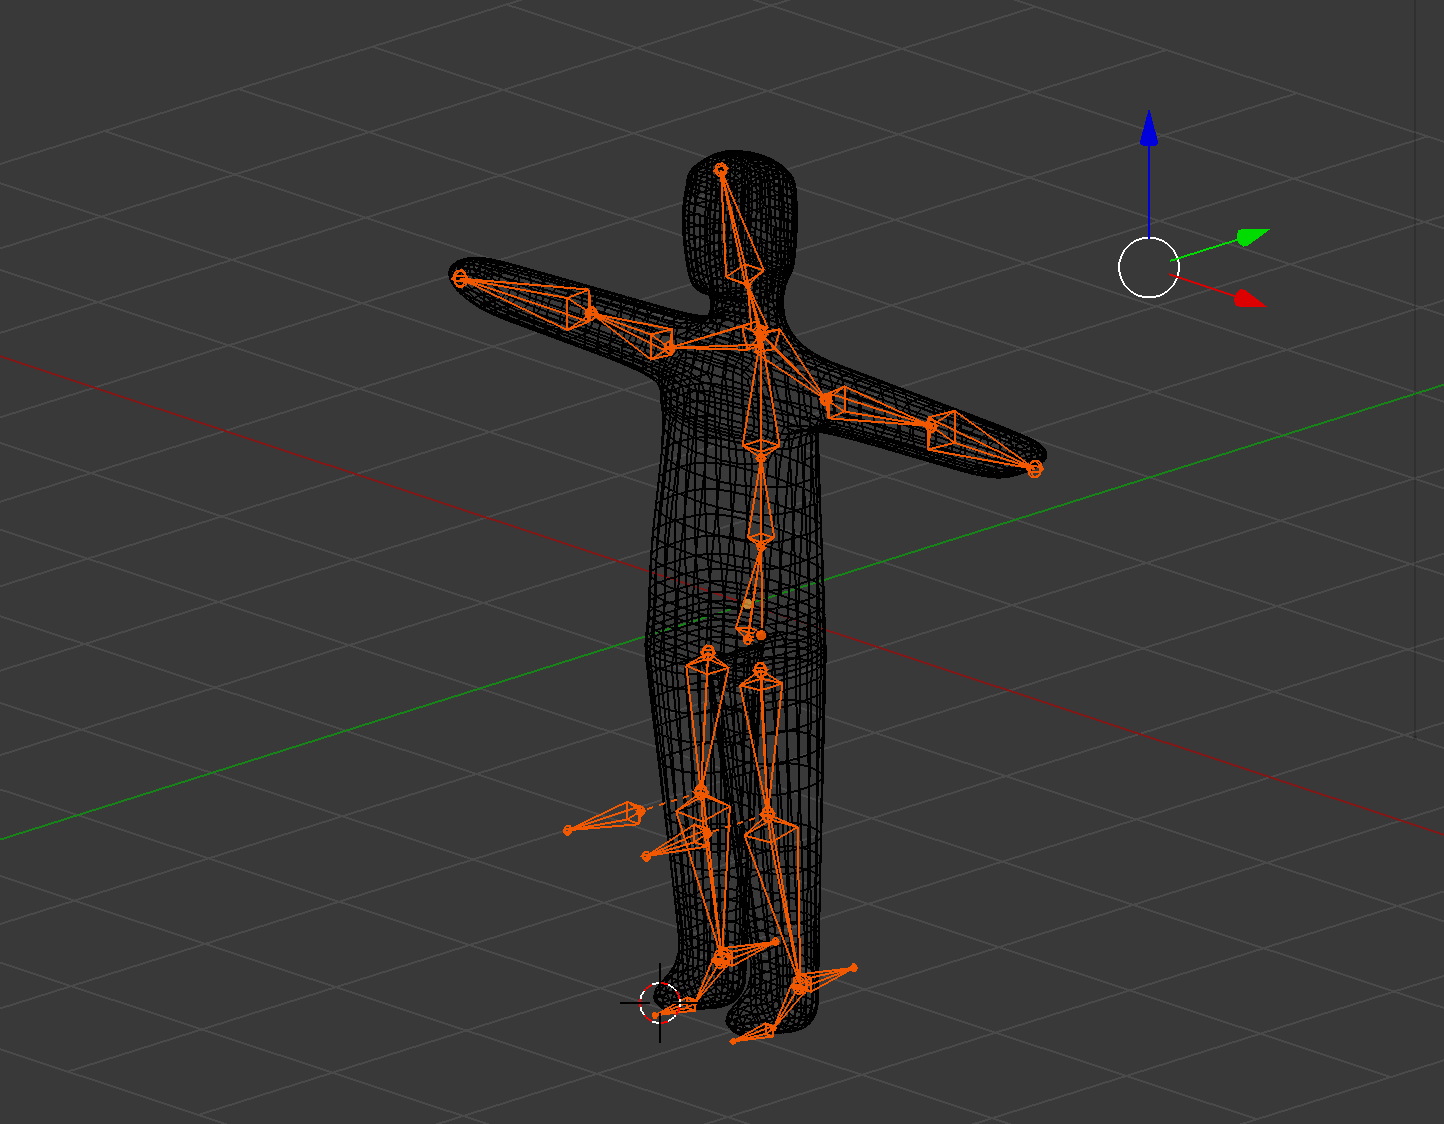
Level 1: Novice Students
- Lynda.com: Character Rigging
- Weight Painting
- Rigging People
- Rigging a character in blender 2.80
- Lynda Tutorials: 12 Principles of Animation
Level 2: Intermediate Students
- Modeling a Low Ploy Animal
- Rigging Animals with Rigify in BLENDER 2.80
- Quadruped Rigging in Blender Part 1: Inverse Kinematics Rig
- Quadruped Rigging in Blender Part 2: Inverse Kinematics Rig
Level 3: Experienced Students
- Blender 2.8 - Rigging For Animation 6 | Introduction To IK Part 1
- Blender 2.8 - Rigging For Animation 11 | How To Rig A Piston Part 1
- Blender 2.8 - Rigging For Animation 11 | How To Rig A Piston Part 2
Steps to Completion
Choose a either level 1, level 2, or level 3 to complete based on your prior experience with 3D tools. If you are a novice, choose Level 1. If you have some experience, choose Level 2. If you are very experienced with 3D tools, choose Level 3.
| Level 1 Steps | Level 2 Steps | Level 3 Steps |
Level 1:
- Watch the rigging character rigging tutorials.
- Download the base base mesh FBX file.
- File → Import the FBX mesh into a new Blender scene.
- Scale up the model.
- Add subdivisions (edge loops) to the polygonal mesh to minimize unwanted distortion when posing the mesh. Add geometry to articulate the head, torso, legs, and arms.
- Object → Apply all transforms including scale, rotation, and location.
- Create joints for the torso, hips, knees, legs, feet, shoulders, arms, neck, and head. Name and number them for your reference. You must put a “.L” or “.R” at the end of your bones for them to symmetrize properly.
- Attach the armature to the polygonal mesh. Do this by selecting the mesh first, select the armature, and then press ‘CTRL-P,’ and choose “with automatic weights.” If you do not see this option, you have selected in the reverse order.
- Adjust the influence weight where needed to create a posable character.
- Pose the biped to be in a sitting pose. (You can add a chair if you like)
- Do not model the character into a sitting pose, it must be modeled in a T pose, and posed in a seated position via the rig.
- Save as rigging-YOURNAME.blend and upload to the submission dropbox.
- Ensure you’ve included everything properly. Failure to ensure that you’ve uploaded the file will result in your exercise being graded according the grading criteria.
Level 2:
- Watch the level 2 rigging tutorials.
- Create a quadruped (four-footed animal). It must include the following:
- Named bones
- IK/FK rig and controllers
- Properly painted weights
- Save as rigging-YOURNAME-L2.blend and upload to the submission dropbox.
- Ensure you’ve included everything properly. Failure to ensure that you’ve uploaded the file will result in your exercise being graded according the grading criteria.
Level 3:
- Watch the level 3 rigging tutorials.
- Design a unique robot arm made of at least 4 main parts, including a gripper, a forearm, an upper arm, and a piston. You may add additional elements as you see fit.
- Create a rig for hard objects (do not download an existing rig)
- include at least one rigged piston.
- Include and IK system to control and animate the arm.
- Create a short animation that shows off the capability of your robot arm design and rig. The animation does not have to be rendered.
- Save as rigging-YOURNAME-L3.blend and upload to the submission dropbox.
- Ensure you’ve included everything properly. Failure to ensure that you’ve uploaded the file will result in your exercise being graded according the grading criteria.
Grading
Your grade will be assessed according to the Exercise Grading Criteria.